
How to Practice Nano Brows: 5-Step Guide for PMU Beginners
Contents
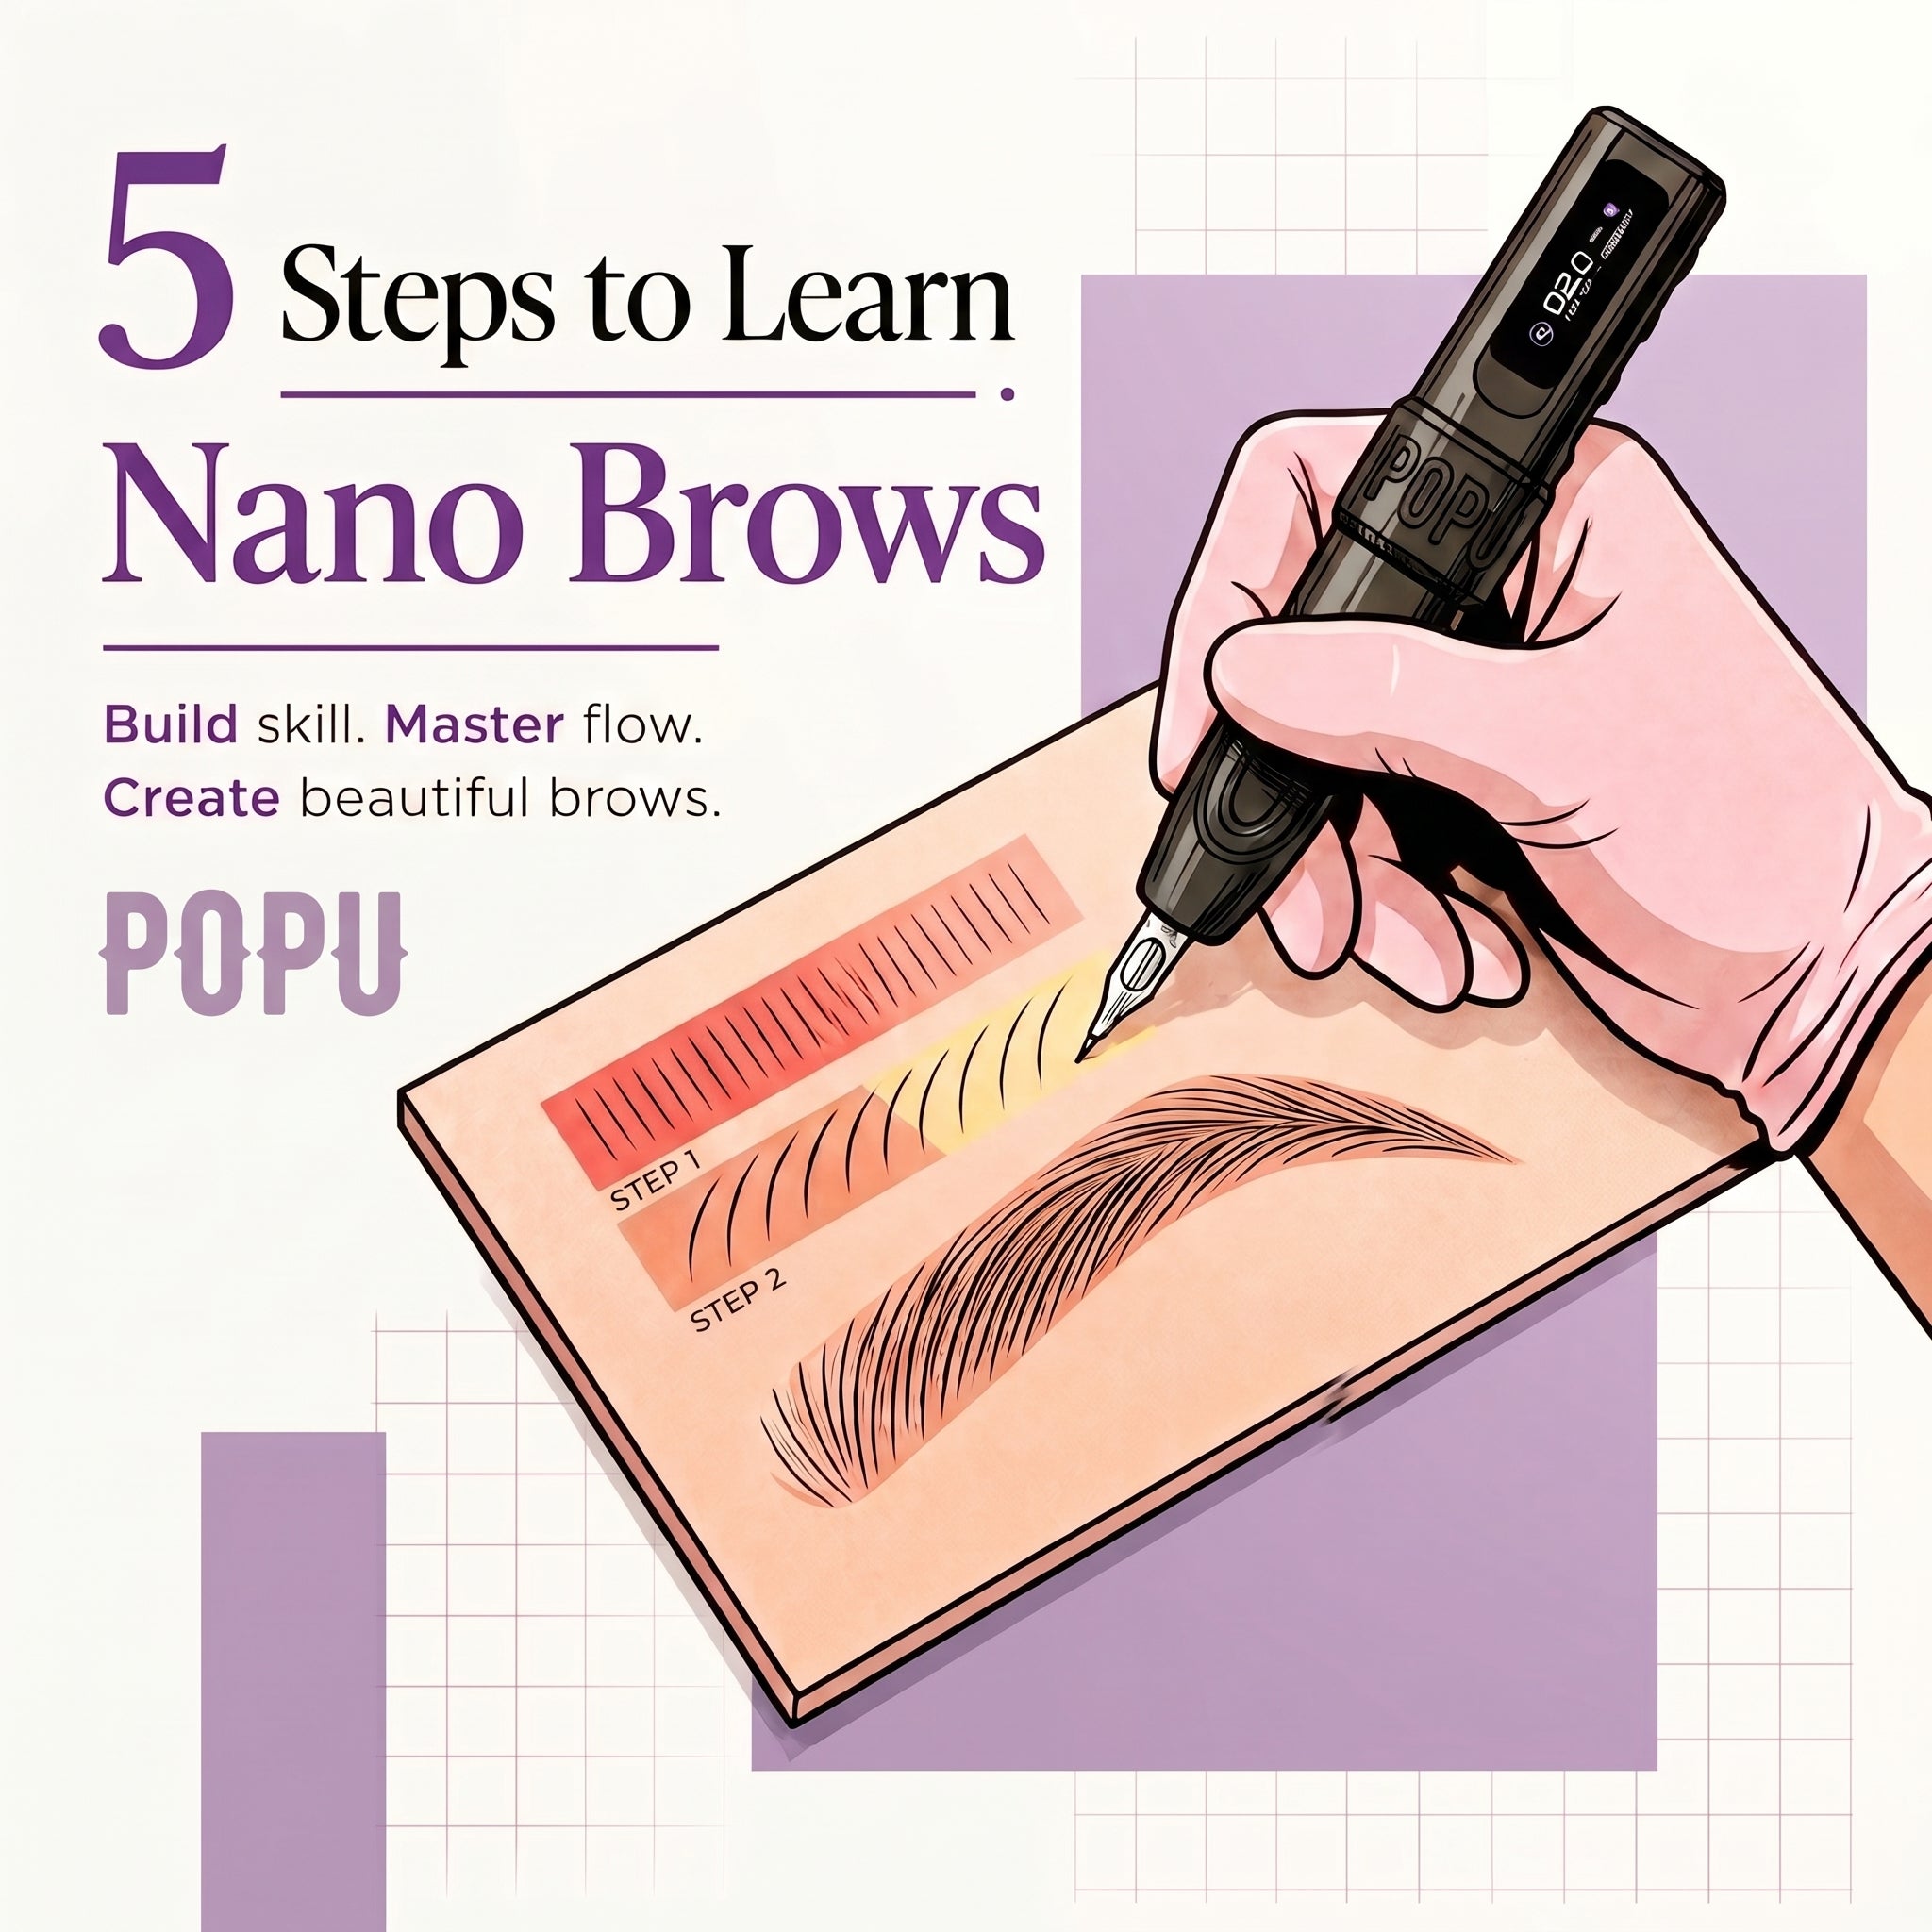
The 5-Stage PMU Nano Brow Practice Path
Use the same order every time. If a later stage breaks down, return to the earliest stage that no longer feels controlled.
| Stage | Practice surface | Main goal | Move on when... |
|---|---|---|---|
| 1. Pencil strokes | Paper or pattern sheet | Shape, taper, and spacing | A full row looks controlled and repeatable |
| 2. Brow flow | Paper or practice pad | Direction by brow zone | Transitions look planned, not random |
| 3. Machine control | Practice pad | Coordinate hand movement and machine response | Strokes remain consistent after wiping |
| 4. Mapping | Mapped synthetic skin | Shape and stroke plan | The outline is balanced and the flow is clear |
| 5. Full pattern | Mapped synthetic skin | Complete the workflow | You finish without crowding or unnecessary passes |
Step 1: Build Stroke Control With Pencil Drills
Begin with pencil practice before adding a machine. Pencil drills isolate the movement, so you can see whether the problem is shape, direction, taper, or spacing.
Use four drill groups:
- Straight strokes that progress into soft curves
- Long-to-short strokes with clear start and stop points
- Light starts and clean tapered endings
- Even spacing first, followed by controlled changes in angle and length

Repeat one pattern across a full row. Review it before starting the next row, then adjust only one thing. Changing the curve, length, spacing, and pressure together makes it difficult to know what improved.
Step 2: Learn Brow Flow by Zone
Nano brow strokes should follow a planned flow. Divide the brow into four zones and give each zone a specific job.
| Brow zone | Practice focus | Common mistake |
|---|---|---|
| Front | Open spacing and gentle direction changes | A solid vertical block |
| Body | Connect the lower line, central spine, and surrounding strokes | Crowded or unrelated strokes |
| Arch | Create a gradual transition from the body | An abrupt angle or identical strokes |
| Tail | Use shorter, more deliberate strokes | Repeated passes that make the tail heavy |

Practice each zone separately. Next, connect two zones at a time. Only then draw the full front-to-tail flow. This makes weak transitions easy to identify instead of hiding them inside a complete brow.
For more examples of brow dimension and stroke placement, read POPU's Nano Brows and Nanoshading guide.
Step 3: Transfer the Movement to PMU Machine Practice
Once pencil strokes are repeatable, move to a practice pad. The goal is to understand how your hand movement, machine response, cartridge, and practice surface work together.
Keep the machine sessions controlled:
- Use the same machine, cartridge, and practice surface for one drill.
- Keep a stable grip, hand angle, starting point, and working position.
- Coordinate hand speed with the machine response instead of chasing speed.
- Record the machine, cartridge, stroke length, voltage, and one observation from the session.
For recomendation, POPU MINI DIVA 3.0mm is easy to control and can work in low voltage. You can explore MINI DIVA Series for more information.
Step 4: Map the Brow in 3 Moves
Mapping gives every stroke a destination. Keep the sequence short enough to remember and repeat.
- Mark: Mark the brow front, base, arch, tail, central spine, and overall height.
- Connect and check: Connect a balanced outline, compare both brows from the front and sides, and correct the shape before adding strokes.
- Plan and clean: Plan the front-to-tail stroke flow inside the outline, then remove construction lines that interfere with the final pattern.
Use a predraw pencil that stays visible while you review symmetry. A pre-mapped practice skin such as the POPU & Sumei Smsenka Practice Pads can help you repeat the same shape and focus on placement.
Step 5: Complete, Wipe, Review, and Repeat
Build the complete practice brow in a fixed order.
- Set the front: Establish an open direction without building a vertical wall.
- Build the body: Use controlled spacing around the lower line and central spine.
- Transition through the arch and tail: Shorten and simplify the strokes as the available space narrows.
- Wipe and review: Inspect the lines from several angles before adding anything else.
Do not fill every empty space. Intentional spacing is part of natural-looking pattern. If the brow feels not good, compare it with the map before adding more strokes.
End each session with a short review:
- Are the stroke starts and tapers controlled after wiping?
- Does the spacing support the planned flow?
- Does the front remain open and the tail remain lighter?
- What single variable will you keep or change next time?
A simple practice log can record the date, practice surface, machine, cartridge, stroke length, voltage, one problem, and one next adjustment. That record is more useful than changing the entire setup from memory.
Common Nano Brow Practice Problems
| Problem | Check first | Return to this drill |
|---|---|---|
| Strokes look thick or heavy | Pressure, hand speed, surface pigment, and cartridge choice | Single strokes with the same setup |
| Strokes are uneven | Grip, hand angle, anchor point, and starting position | Marked start-and-stop lines |
| The pattern looks blocky | Repeated angle, length, and spacing | Separate front, body, arch, and tail zones |
| The tail becomes too dark | Crowding and repeated passes | Pre-plan the tail, complete it once, then wipe and review |
Frequently Asked Questions
How should PMU beginners practice nano brows?
Start with pencil stroke drills, then learn brow flow by zone. Move to machine work on a practice pad, practice a three-step map on synthetic skin, and finish with complete brow patterns. Advance only when each stage feels repeatable.
Should I practice nano brows on paper first?
Yes. Paper practice isolates direction, length, taper, and spacing before machine speed, voltage, cartridge choice, and surface response are added.
What PMU needle configuration should a beginner use for nano brows?
Fine Round Liner configurations are commonly used for machine hair-stroke practice, but there is no universal size. Use the configuration taught by your trainer, confirm compatibility with your machine, and keep it consistent while you evaluate a drill.
How often should I practice nano brow strokes?
Use short, focused sessions built around one drill and one setup. Consistent review is more useful than a long session.
How do I know when I am ready for a full brow pattern?
You should be able to repeat individual strokes, maintain controlled spacing, connect the four brow zones, and complete a mapped practice brow without crowding or unnecessary passes.
When am I ready to work on a live model or client?
Synthetic-skin consistency alone is not enough. Move to model or client work only within formal training, with qualified supervision where required, after completing relevant hygiene and infection-control education and meeting local licensing or regulatory requirements.


Comments